1. Arrange students into groups. Each group needs at least ONE person who has a mobile device.
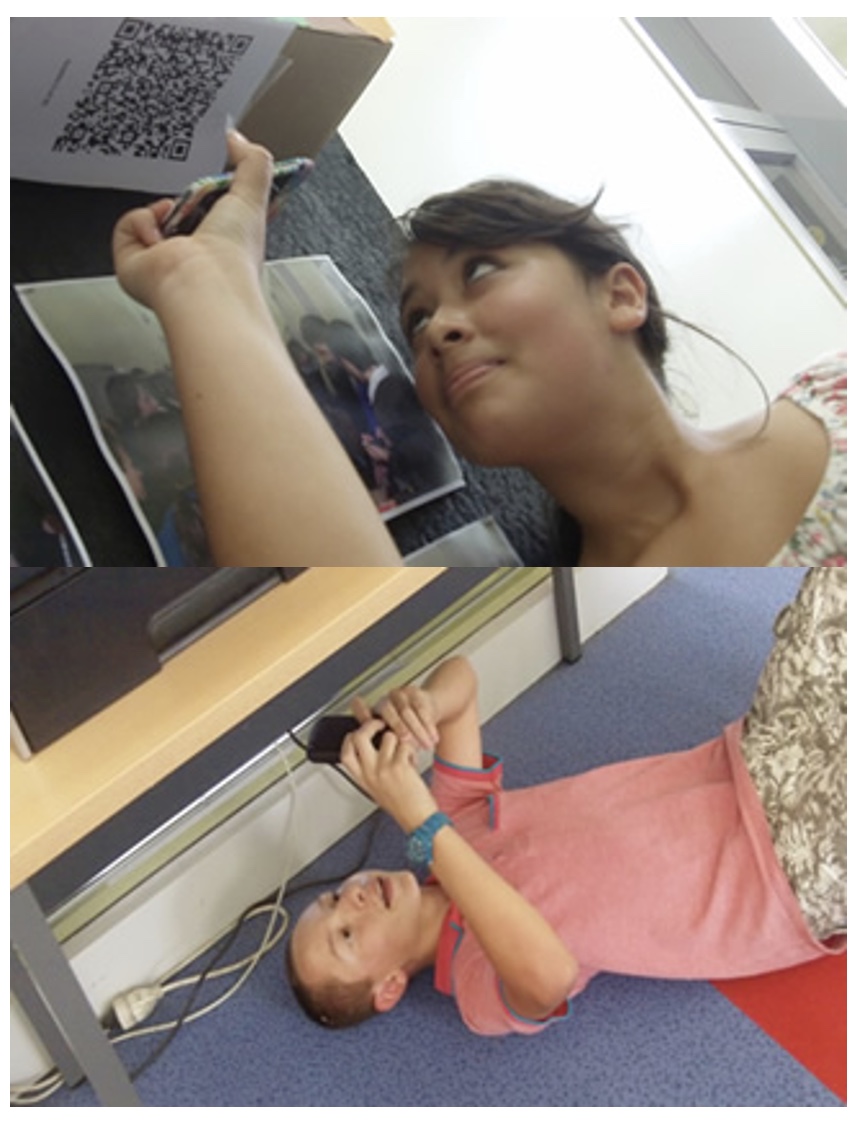
2. If their phone camera doesn't automatically detect and decode QR codes, ask students to
4. Cut them out and place them around your class / school.
1. Give each group a clipboard and a piece of paper so they can write down the decoded questions and their answers to them.
2. Explain to the students that the codes are hidden around the school. Each team will get ONE point for each question they correctly decode and copy down onto their sheet, and a further TWO points if they can then provide the correct answer and write this down underneath the question.
3. Away they go! The winner is the first team to return with the most correct answers in the time available. This could be within a lesson, or during a lunchbreak, or even over several days!
4. A detailed case study in how to set up a successful QR Scavenger Hunt using this tool can be found here.
Question | Answer |
| 1. From the tray pick the piece of scientific equipment you would use to measure a liquid. Take a photo of this | 1 Measuring cylinder | 2. Find an object that measures between 10 and 15 centimeters in length. Take a photo showing the object and its measurement | 2 object measurement | 3. Measure 35ml of red liquid with a measuring cylinder. Take a photo of the measured liquid | 3 red liquid | 4. Weigh out 15 grams of salt using the balance. Take a photo showing the 15grams of salt | 4 salt 15g | 5. Measure 57ml of blue liquid with a measuring cylinder. Take a close up photo of the miniscus so the measurement can be easily read | 5 miniscus | 6. Find an object weighing between 300 and 400 grams and place it onto the balance. Take a photo of the object on the balance so the weight is visible | 6 300g object | 7. Time 20.3 seconds exactly on the stop clock. Take a photo of the stopclock showing your accuracy | 7 stopclock 20.3 | 8. Try to raise the temperature on a thermometer to 40 degrees celcius using warm water. Take a photo of the thermometer before you begin heating it and another one after you have heated it to 40 degrees celcius | 8 Thermometer x 2 photos | 9. Find the Hazard Symbol that means CORROSIVE. Take a photo of it | 9 corrosive | 10. Find the warning symbol that means YOU MUST WEAR EYE PROTECTION. Take a close up photo of it | 10 Eye protection | 11. Find the poster that warns you about eating and drinking in the Laboratory. Take a photo of it with your group beside it | 11 eating in the lab and group photo |
![]()
Question 1 (of 11)
![]()
Question 2 (of 11)
![]()
Question 3 (of 11)
![]()
Question 4 (of 11)
![]()
Question 5 (of 11)
![]()
Question 6 (of 11)
![]()
Question 7 (of 11)
![]()
Question 8 (of 11)
![]()
Question 9 (of 11)
![]()
Question 10 (of 11)
![]()
Question 11 (of 11)